
Inkscape Tutorial
How to setup a file that our laser can work with?
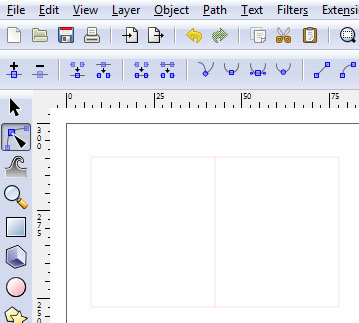
Choose the size of the material you want to use. The file contains the margins and colors you can use. (right mouse button -> Save link as..)
 |
 |
 |
| Mini sheet (150x150mm) | Half sheet (300x300mm) | Full Sheet (600x300mm) |
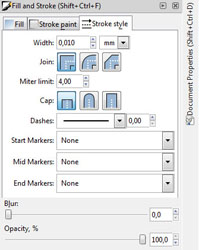
Cutting
These are the outlines of the shape you want to cut. They consist of paths or shapes.
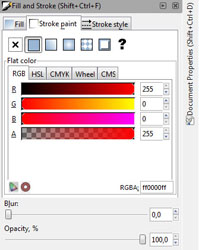
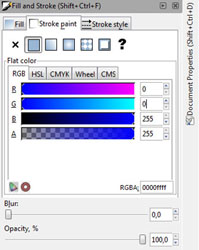
The stroke weight has to be 0.01 mm and the color RGB red. Make sure the color model is RGB.
Vector engraving
This is the same as for cutting. The cut is not through and through. This leaves a drawing on the material.
The stroke weight is also 0.01 mm. The color is RGB blue which is also available in the default swatches.
Raster engraving
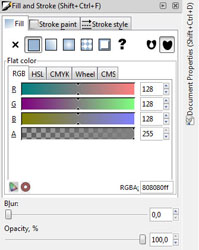
All fills are engraved. By using shades of grey you can control the density of the engraving. On average light grey (RGB – 230,230,230) is the shallowest and black the densest. All shades of grey in between make a difference in density. Gradients can also be used and are treated the same way by the machine.
Images
The laser cutter can interpret raster images for engraving without any problems. Color images are being converted to a greyscale image via dithering. The density control is exactly the same as with fills. White is not engraved, light grey is the shallowest and black the densest.
Rasterized images to Vector images
Rasterized or bitmap images can only be engraved. If you want to cut or vector engrave them, you need to convert these images (JPEG,BMP, PNG, etc.) to vector line drawings.
This is quite easy with Inkscape. Select the image and click ‘Trace Bitmap’.
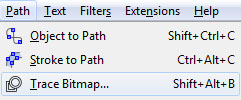
The lines are now paths and can be used by the laser cutter.
Attention!: The original bitmap image is still behind your line drawing. Remove it before emailing the file to us.
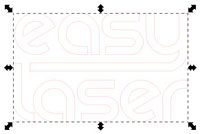
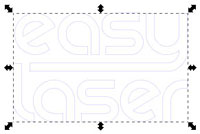
Text
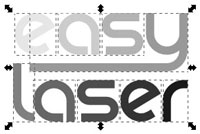
It is possible to cut or engrave text. The only thing you need to do is convert it to outlines. This way the font is converted to paths and will keep its appearance.
Attention!: Do this step in the end of the process because you cannot change the text after this step.
Cutting lines have to be RGB red with a stroke weight of 0.01mm without any fill. Vector engraving lines have to be RGB blue with a stroke weight of 0.01mm without any fill. Engraving can be done by not using a stroke and only use a greyscale to black fill. For more details see the cutting or engraving part of this tutorial.
Order
The laser cutter optimizes the cutting process. It is not necessary to manually give in the order in which the machine engraves or cuts. It automatically first cuts the smallest parts and works its way to the bigger parts.
It is possible to have more control over the cutting order when something has to be engraved at different depths for example. Remember to only use this in extraordinary cases. The cutter works in the following order:
| Desc. | BLACK | RED | GREEN | YELLOW | BLUE | MAGENTA | CYAN | ORANGE |
| RGB | 0-0-0 | 255-0-0 | 0-255-0 | 255-255-0 | 0-0-255 | 255-0-255 | 0-255-255 | 255-128-0 |
For example, black is deep engraving, red is shallow engraving, yellow are the inner cutting lines and blue the outer cutting lines.
Double Lines
It’s possible your drawing consist of double lines after tracing an image. They lie on top of each other and are hard to notice. These lines look darker than single lines. Delete one line to see whether there is another one underneath. If this is case you also need to delete the rest. Double lines take longer to cut, cost twice as much, leave a bigger burn mark on the edges and damage the cutting table. So please check this to be sure the material is not cut twice.
A more common problem is shapes that have one shared side. For example two rectangles that are drawn against each other. This is also cut twice and results in a lower level of precision and bigger burn marks.
It can be fixed by following the upcoming steps.
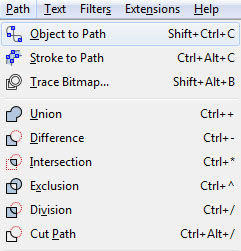
Select one object. Click on Path -> Object to path
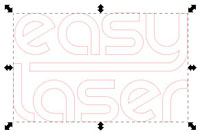
Use the edit paths by node tool to select one of the corners of the shared line. Click ‘break path at selected nodes’. Repeat this step for the other corner as well.‘break path at selected nodes’ knop. Herhaal deze stap voor het andere hoekpunt van de lijn.
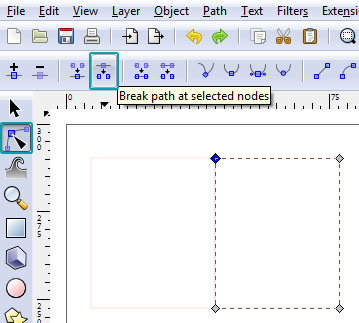
Now you can select the line. The corners of the line have a yellow glow. Press delete once to delete the line.
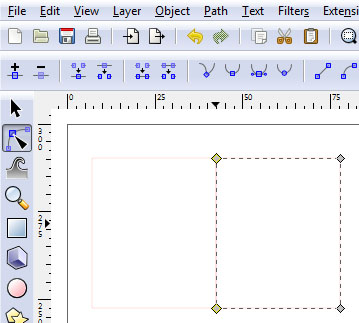
Repeat this process until all shared lines are removed.
Save File
To prevent issues with versions you have to save the file as an EPS file.
File -> Save As…
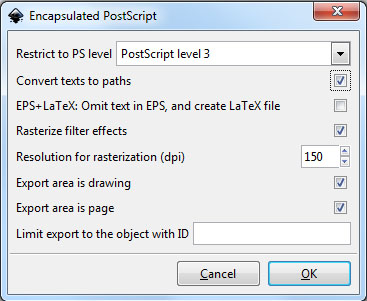
You can keep the original settings. If you used rasterization, please put it on 150DPI to make sure images stay crisp.
Congratulations! Your file is ready for cutting. Send your file to info@easy-laser.nl to get a quote by email.


